Post by HeShallNotBeNamed on Aug 6, 2018 17:03:53 GMT
Ok here is one way to get custom faces to put into FPWWorld
I'm using two programs, gimp and facegen modeller demo both free.
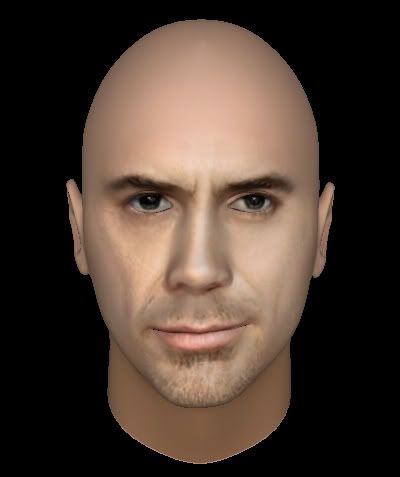
First you want to find a good front on picture of the person you want to create a likeness of. Lighting is important you don't want dark shadows over one side of the face.
The bigger the better too as it will be the base texture of the creation. The facegen program works a lot better usually with a side picture also. If you can't find a good
picture for the front it's an idea to try mirroring the good side, with a little manipulation.

Sometimes the results are better than others. But there is a ton of ways to morph the face after the auto and usually you can get them close
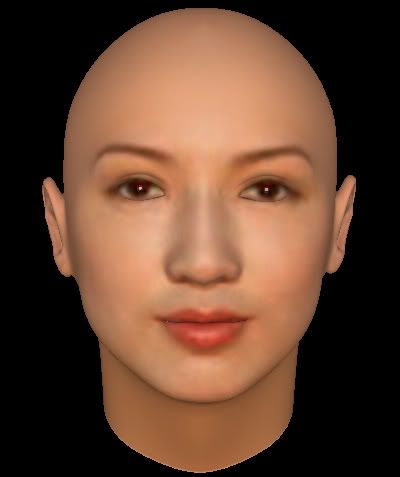
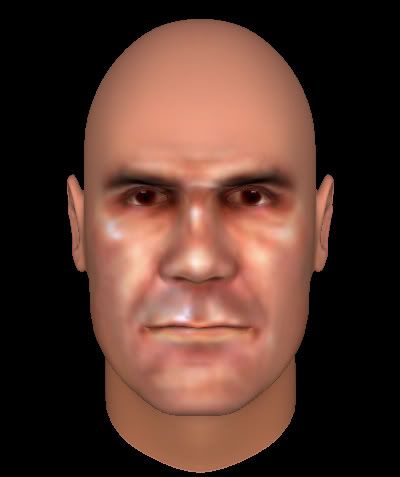
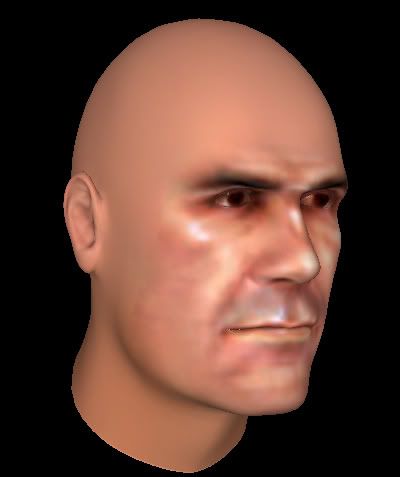
In facegen under view/camera, set the lens field of view to 0 (orthographic). Make the program full screen and don't zoom in or out on the head once it's rendered, to keep a base size that is easy to shrink in gimp later. Just point them left and under file/image there is a way to save pictures. Save as .png - while you experiment with this we stick to one picture but if you want to go through with trying to create a sheet, it's best to do them all in one go.
So you have a picture of a 3d head facing to the side of whoever. I have my attempt at Steve Blackman. Open it in GIMP.
Also open up a template from existing FPWW head art for judging angles you want to pose the facegen head at, and for pasting your results over once they're processed. I have b_fc_000_m_1 and m_fc_1000_m_2
Under colours, choose desaturate-desaturate. Use the first choice. Then under colours again choose posterise. A number between around 8 to 11 is usually best but experiment because sometimes it's necessary to add a few more to get enough range between light and dark.


back to select, deselect all, and then repeat until the face is coloured using the base in game colours. It's important I think to get the values, even if you want to desaturate the result afterwards for custom colours in game.
Make any adjustments you want to at this stage, I drew in the side of Blackmans beard and hid the outline of the watermark for instance. Finally select color the background and cut it.
So once the coloring is done it's time to shrink it from image-scale image. I've found that 8% of the original size is almost perfect. I don't know though if it will translate to your setup it depends on your resolution.

I'm using two programs, gimp and facegen modeller demo both free.
First you want to find a good front on picture of the person you want to create a likeness of. Lighting is important you don't want dark shadows over one side of the face.
The bigger the better too as it will be the base texture of the creation. The facegen program works a lot better usually with a side picture also. If you can't find a good
picture for the front it's an idea to try mirroring the good side, with a little manipulation.

Sometimes the results are better than others. But there is a ton of ways to morph the face after the auto and usually you can get them close
In facegen under view/camera, set the lens field of view to 0 (orthographic). Make the program full screen and don't zoom in or out on the head once it's rendered, to keep a base size that is easy to shrink in gimp later. Just point them left and under file/image there is a way to save pictures. Save as .png - while you experiment with this we stick to one picture but if you want to go through with trying to create a sheet, it's best to do them all in one go.
So you have a picture of a 3d head facing to the side of whoever. I have my attempt at Steve Blackman. Open it in GIMP.
Also open up a template from existing FPWW head art for judging angles you want to pose the facegen head at, and for pasting your results over once they're processed. I have b_fc_000_m_1 and m_fc_1000_m_2
Under colours, choose desaturate-desaturate. Use the first choice. Then under colours again choose posterise. A number between around 8 to 11 is usually best but experiment because sometimes it's necessary to add a few more to get enough range between light and dark.

Now go to your reference template and choose with the eyedropper tool the first two colours you'll use to recolour the creation. Back on the creation go to select - by color and pick the lightest shade, once highlighted go to bucket fill and click. Make sure that fill whole selection is marked in the left hand bar.


back to select, deselect all, and then repeat until the face is coloured using the base in game colours. It's important I think to get the values, even if you want to desaturate the result afterwards for custom colours in game.
Make any adjustments you want to at this stage, I drew in the side of Blackmans beard and hid the outline of the watermark for instance. Finally select color the background and cut it.
So once the coloring is done it's time to shrink it from image-scale image. I've found that 8% of the original size is almost perfect. I don't know though if it will translate to your setup it depends on your resolution.

And then it's time to repeat the process another 34 times ;)
Why not give it a go. There's pleny of different filters and looks you could give them I'm still learning. And If enough people were to get comfortable with the process and understand how each other are doing it, then full sheets could be broken up between a few people making it much quicker.


